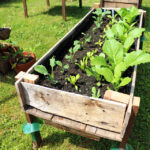
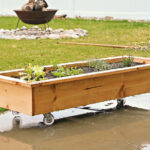
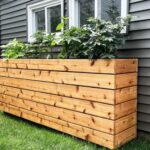
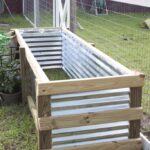
Garden planter boxes are a great way to add some greenery and flowers to your outdoor space. They are also a fun and rewarding DIY project that can be customized to fit your personal style and space. Whether you have a large backyard or a small balcony, planter boxes can help you make the most of your outdoor space.
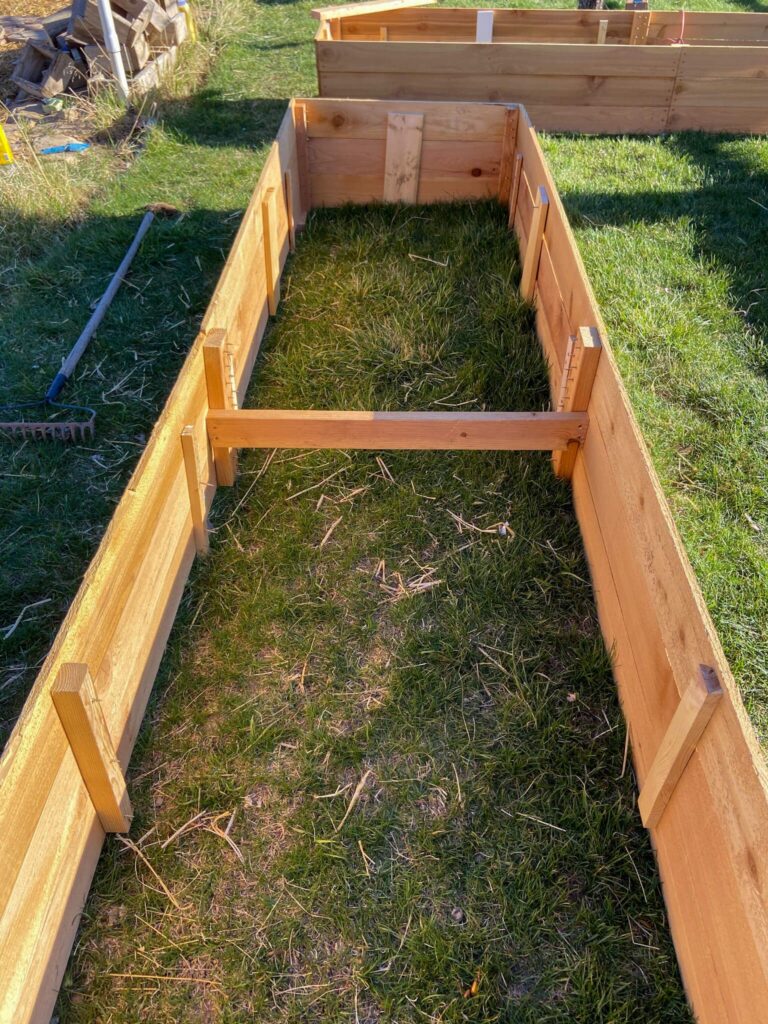
To start your DIY planter box project, you will need some basic materials such as wood, screws, and a saw. You can choose the type of wood you want to use based on your personal preferences and budget. Cedar or redwood are popular choices because they are durable and weather-resistant. Once you have your materials, you can begin measuring and cutting the pieces of wood to create the box shape.
Assemble the pieces of wood to create the box shape using screws or nails. Make sure to leave drainage holes in the bottom of the box to allow excess water to escape. You can also add a bottom layer of gravel or pebbles to help with drainage. Once the box is assembled, you can add soil and your choice of plants or flowers. Consider the amount of sunlight and water your plants will need when choosing what to plant in your planter box.
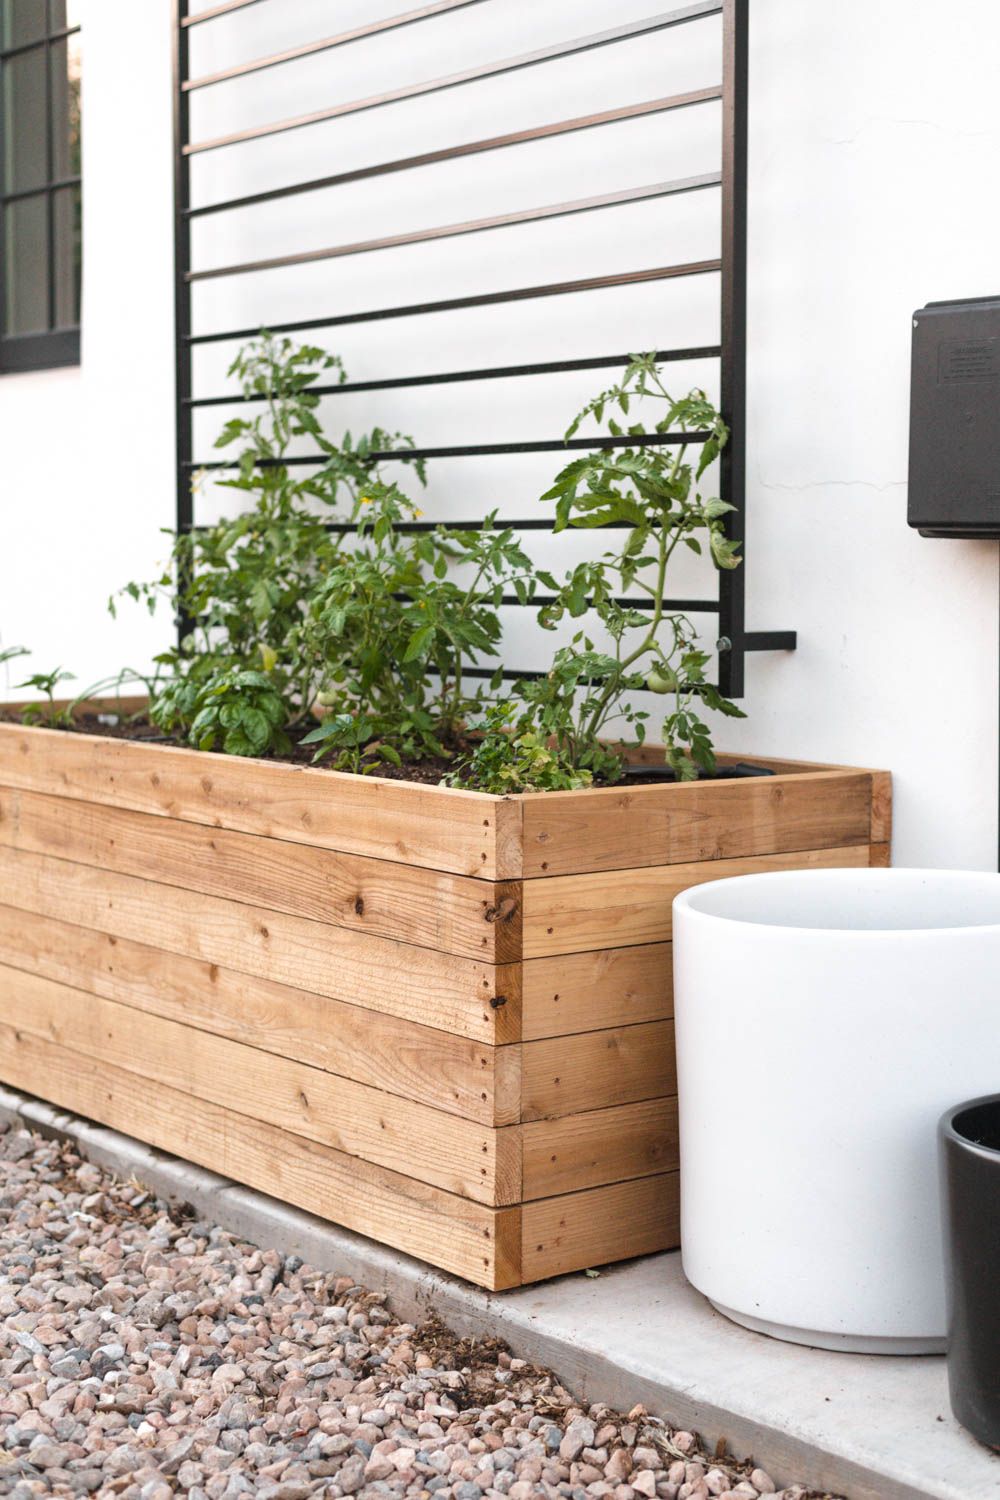
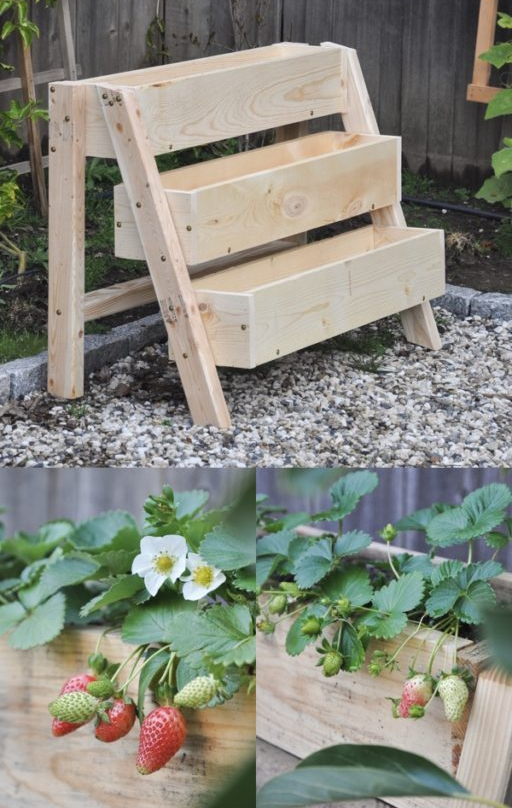
To add a personal touch to your planter box, consider painting or staining the wood. You can also add decorative elements such as handles or legs to elevate the look of your planter box. If you are feeling creative, you can even add some unique features such as a trellis or lattice for climbing plants.
Maintaining your planter box is easy and can be done with regular watering and occasional fertilizing. Make sure to check the soil moisture regularly and adjust your watering schedule accordingly. You can also add a layer of mulch to help retain moisture and prevent weeds. With proper care, your DIY planter box can bring beauty and life to your outdoor space for years to come.
 yishifashion Where Outdoor Dreams Become Reality
