yishifashion Where Outdoor Dreams Become Reality

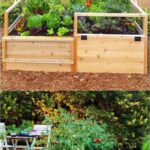
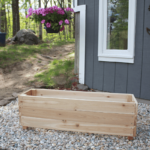
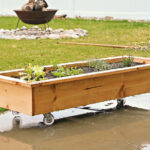
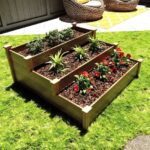
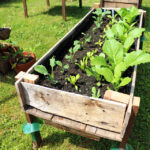
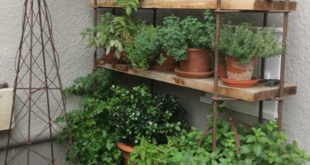
Garden planter boxes are a great addition to any outdoor space, allowing you to easily grow flowers, herbs, or vegetables in a contained area. Making your own planter boxes can be a fun and rewarding DIY project that adds a personal touch to your garden.
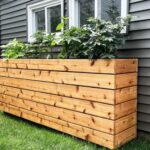
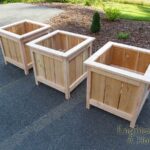
To start your DIY planter box project, you will need some basic materials and tools. This includes wood boards, screws, a saw, drill, and measuring tape. You can choose the type of wood you prefer, such as cedar or pine, depending on your budget and aesthetic preference.

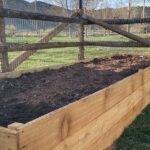
Once you have gathered your materials, you can begin measuring and cutting the wood to the desired dimensions for your planter box. Remember to leave space for the base of the planter box, as well as any additional supports or legs you may want to add.
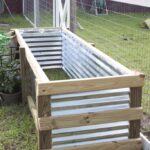
After cutting the wood, you can start assembling the planter box by screwing the pieces together. Make sure to use appropriate screws and drill pilot holes to prevent splitting the wood. You can also add a waterproof liner inside the planter box to protect the wood from water damage.
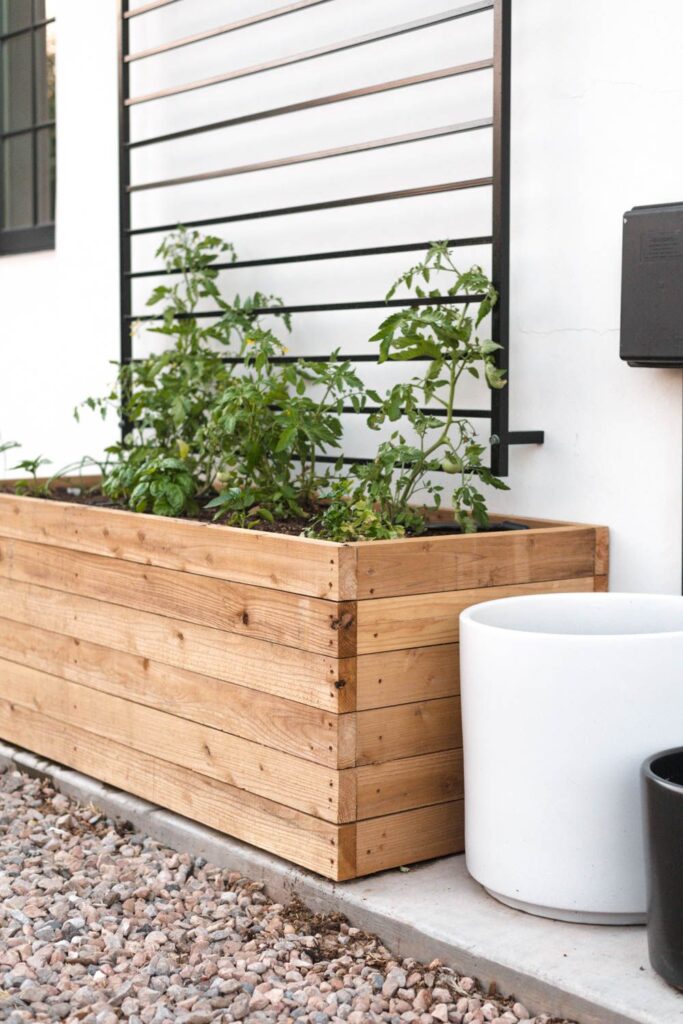
Once your planter box is assembled, you can fill it with soil and plant your favorite flowers, herbs, or vegetables. Make sure to choose plants that are suitable for the amount of sunlight and water your garden receives, and consider adding drainage holes to prevent waterlogging.
With your DIY planter box complete, you can enjoy watching your plants grow and thrive in a custom-made container that adds beauty and functionality to your outdoor space. So gather your materials and get started on creating your own garden planter boxes today!